Before and After Photos (Part Two)
Need adobe repair or sealing your adobe home? Call or text Adobe Masters: 520-331-4004. Email: adobemastr@gmail.com
More “before and after” photos here.
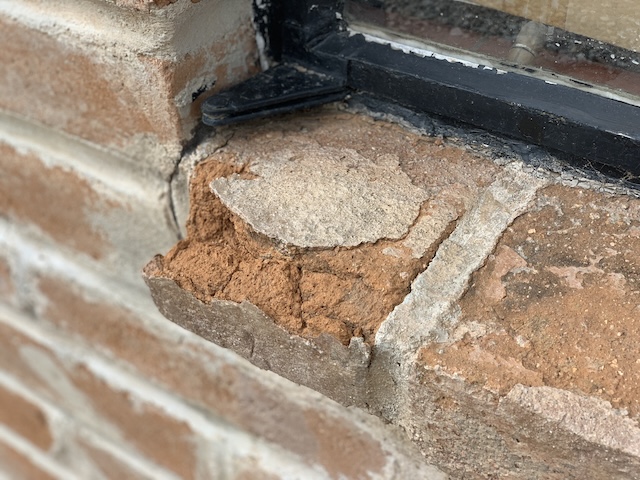
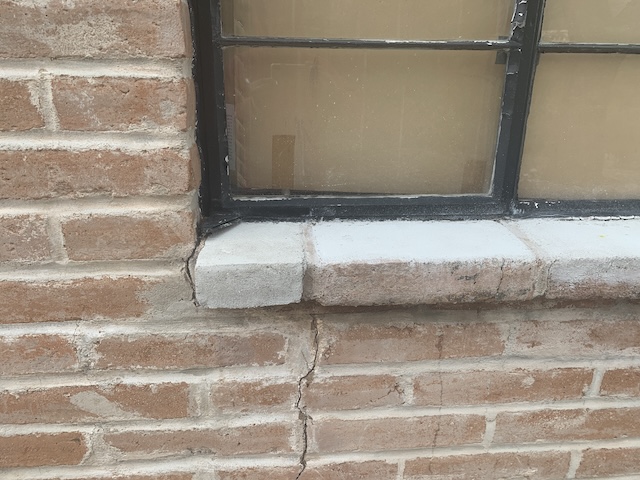
Adobe repair on window sill:
The pictures below show a partially deteriorated window sill burnt adobe; among the most difficult repairs we do. Knocking out the old one and resetting a new one is problematic: inevitably, while trying to remove the damaged adobe you loosen or damage the one next to it. Then, you have to replace or re-mortar that one as well, which means you must take it out too. Then, you knock out or loosen the one next to that one and a nightmarish chain reaction can occur.
My decades of experience in dealing with these kind of repairs means I adopt the physician’s “do no harm” creed. I leave the adobe in place unless it is absolutely necessary to completely remove it and replace it with another; this is very rare. Instead, I repair them in place. Knocking out damaged window sill or parapet adobes and completely replacing them with new adobes is fraught with problems and can cause an endless chain reaction of damage to your undamaged adobes.
Notice this particular adobe was repaired before: you can see the prior repair patch on the top and the outward facing side:
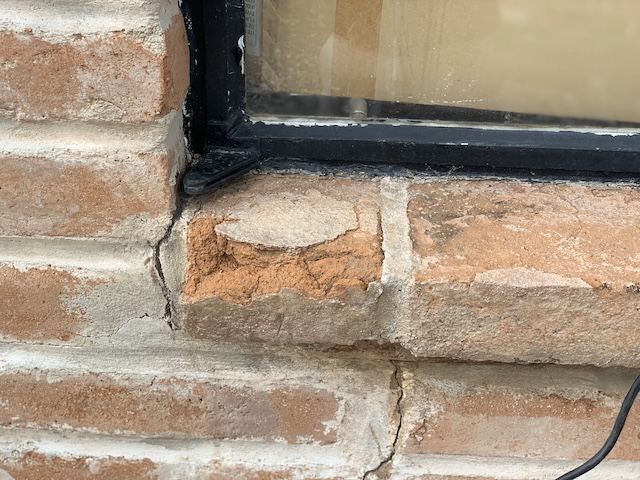
The pictures below shows the end result of a complex set of steps I use to gently rebuild the damaged adobe using my proprietary adobe repair mix that I have developed over the decades in this type of preservation work. You can also see the other adobes I am “touching up” with the same adobe repair material:
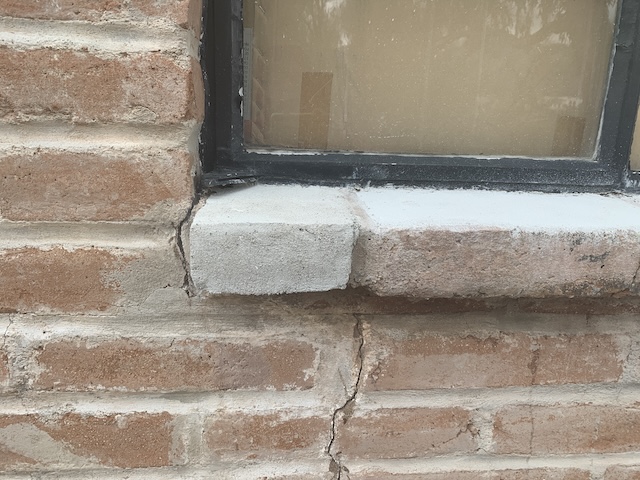
The pictures below shows the finished product after I applied my coloring process:
I’m pleased with the end result. Like any piece of art work, this takes time, experience, and a deep knowledge of various tools, materials, and coloring processes so that you achieve the degree of craftsmanship seen in the above photos. The fact this particular repair was on the end of this window sill made it that much more difficult to achieve as there was nothing on the left side of the repair to anchor the repair itself. Repairs like this which “hang in the air” are quite difficult to get just right. This was all done by hand using the proper set of tools and knowledge I have gained in 40 years—four decades—of experience.
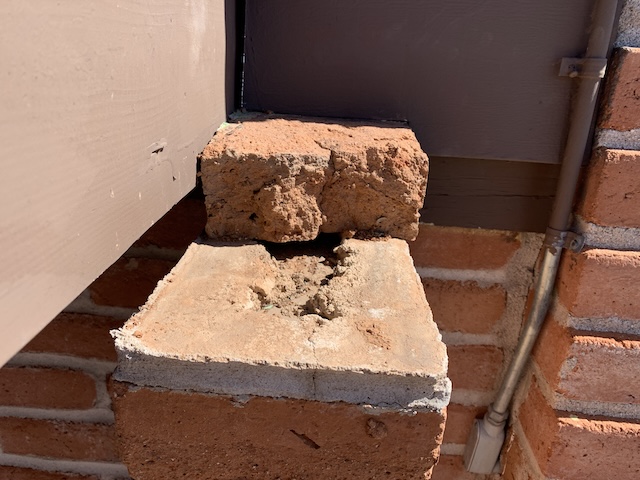
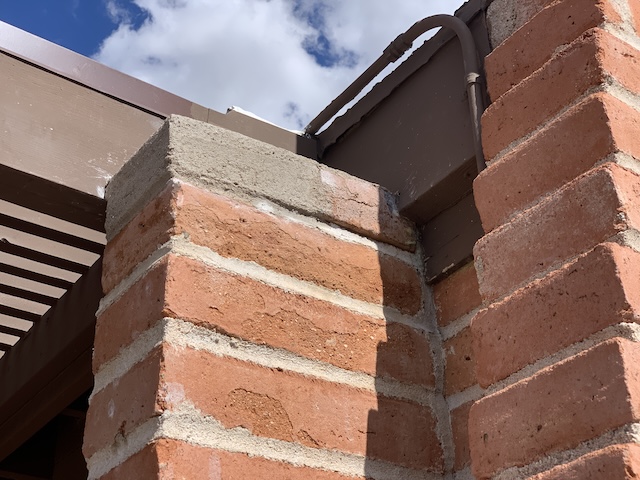
Adobe Repair on top of column:
Below is another difficult repair I had to do: an almost completely deteriorated adobe on top of a customer’s adobe column. The problem with this repair is the house is constructed out of Querobabi adobe, which has not been available in Tucson for decades. The only way to match this damaged adobe would be to recreate it almost from scratch and apply my coloring process to it:
Like the window sill adobe above, this one required rebuilding the adobe without knocking it out and mortaring in a new one. I climbed up on my ladder to get the following shot: here is what I had to work with:
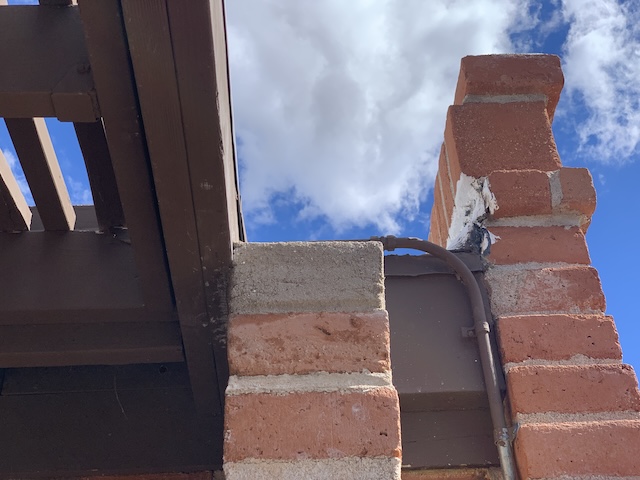
Here is what it looked like after several reconstruction steps:
Here is the view from the left end:
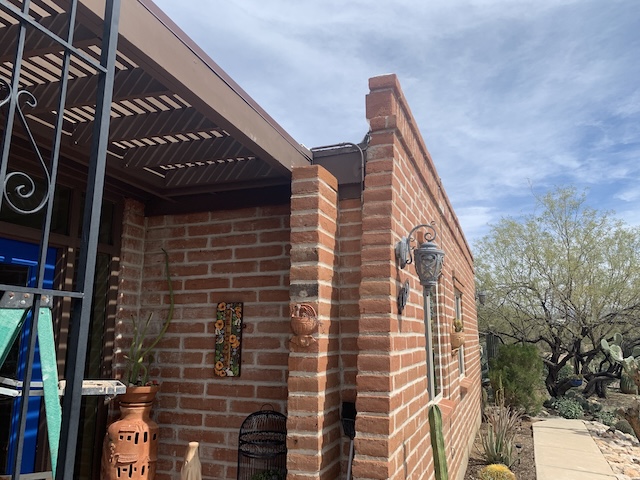
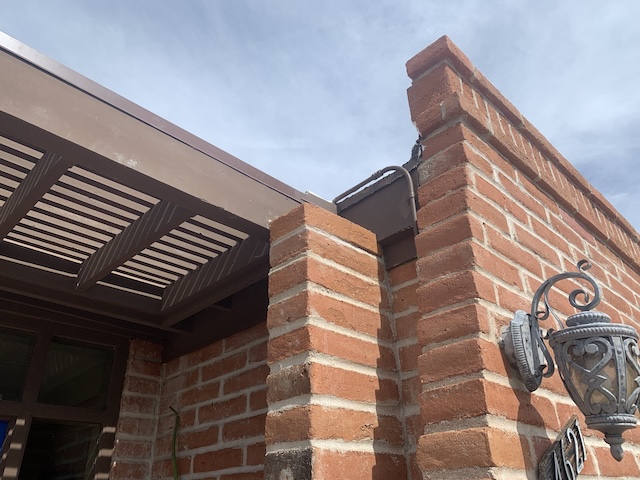
Here is the finished product:
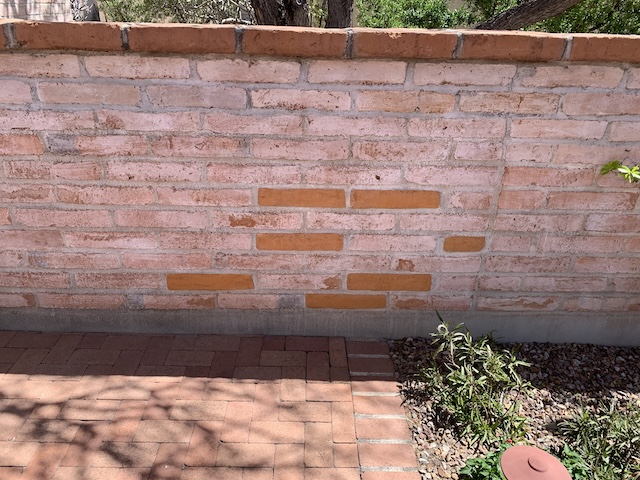
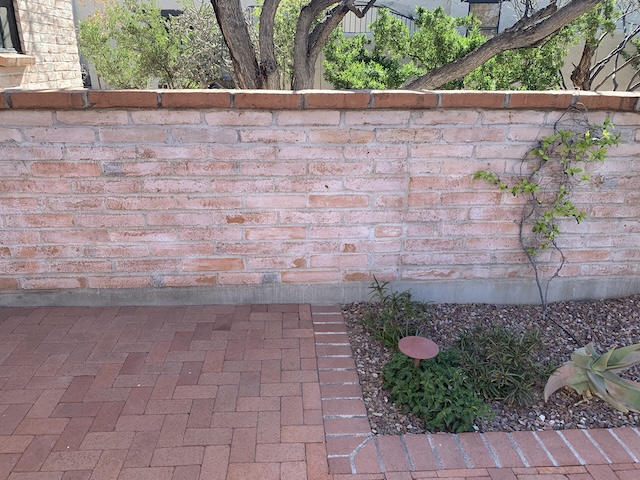
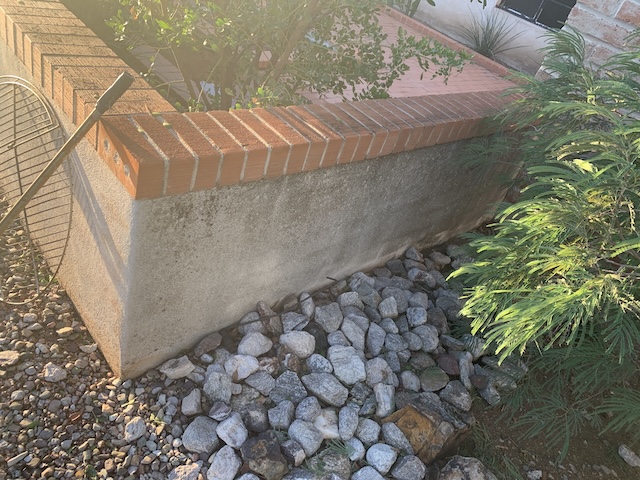
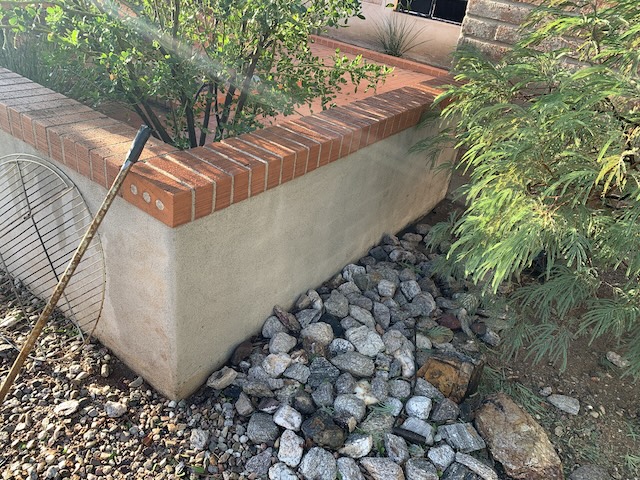
Mortar washes and white washes:
Many burnt adobe homes have various types of mortar washes and white washes applied to their surfaces. Over time, these often fade away from the intensity of the sun, or washed away from the rains and other weathering processes. Below is some before and after pictures of a damaged adobe wall where I repaired several damaged faces and then applied the appropriate mortar wash to match:
Moss Removal:
The main type of moss I see on burnt adobe homes is black moss. Green moss is also seen, but not as often as the black. Some customers do not like the look of moss so we are hired to remove it:
These pictures are from Brooke’s house.


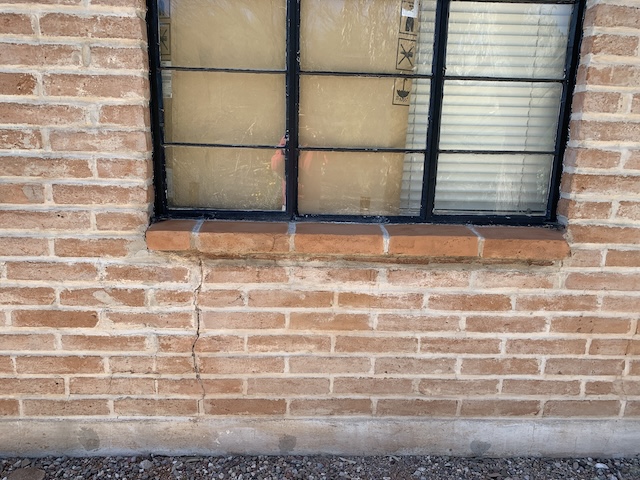
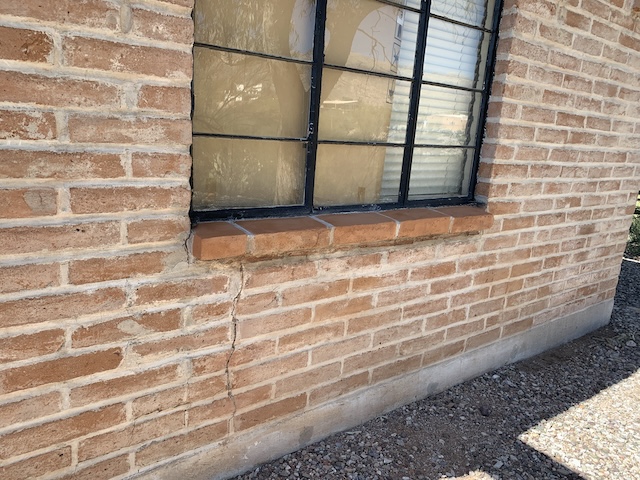
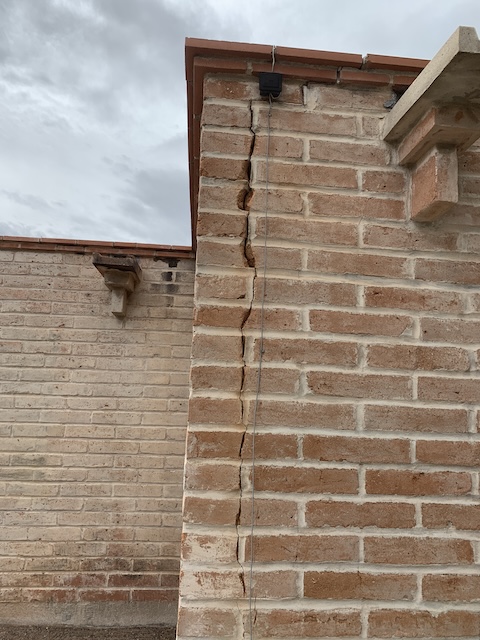
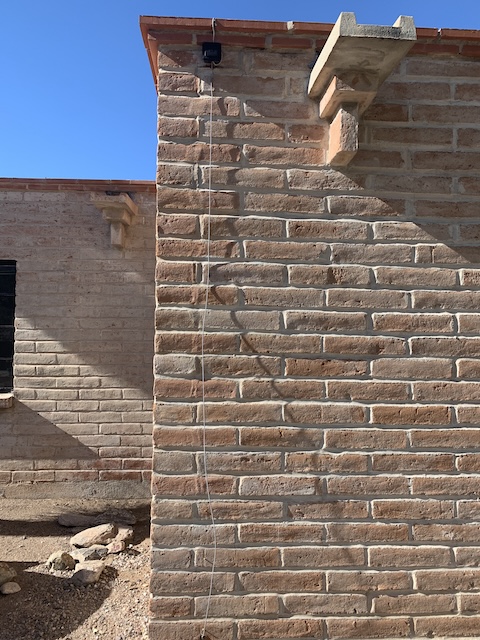
Crack Repair
The next two pictures are from the same crack (two different perspectives) on the same house as the moss cleaning was done.

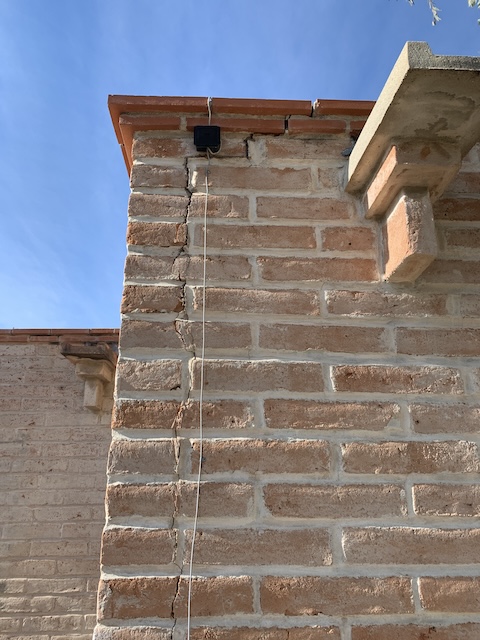
After I opened up the crack to begin the repair process:
The picture below is after I began to fill in the crack with my proprietary crack repair mixture. This can be a multi-step process depending on how deep and wide the crack is. The picture below shows what the crack looked like after several steps were taken with my repair material applied to it:
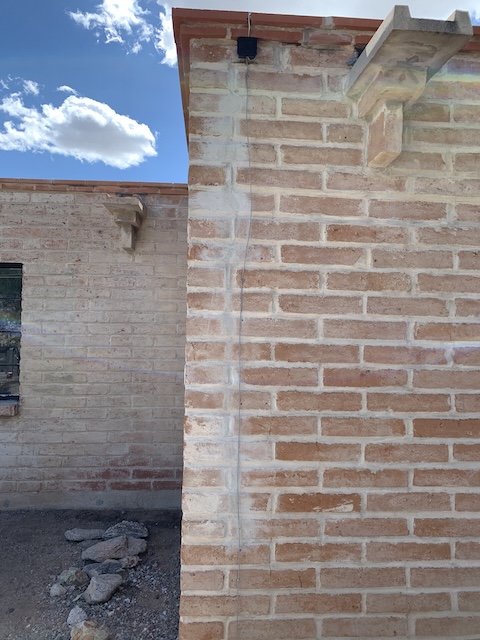
The next picture below shows the almost finished result:
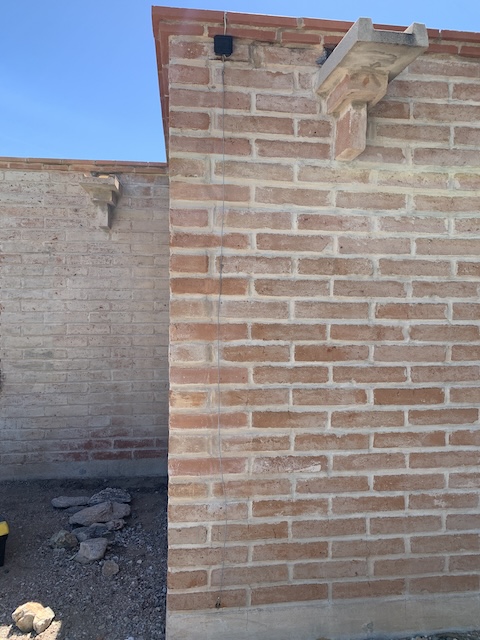
The picture below shows the final result, after all the fine tuning of the color has been completed:
I was pleased with how this finally come out. Again, to get this repair blended in with the rest of the wall is not an easy or quick process. Often, I will allow a day or two to pass—even more—and try to get “fresh eyes” on a repair even after I think I may have finished it. Then, I will add a touch more here and a touch more there before I can walk away from it satisfied with the final result.